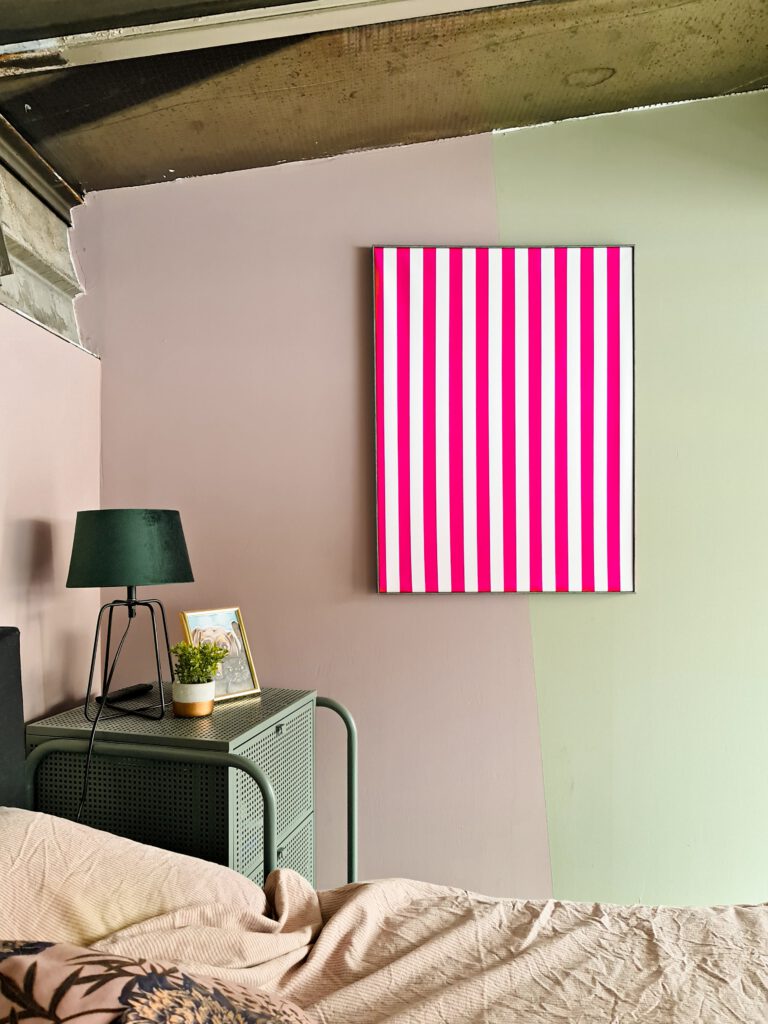
Making your own colorful wall decorations! "But I can't paint at all." No problem, this DIY is so easy to make, everyone should be able to do this. With this piece of art as a wall decoration, your interior will be a real eye-catcher richer. Read on quickly to find out how I made this artwork!
But first, welcome! Nice of you to read another one of my DIY blogs. It's been a while since I shared one of my projects like this, the last one was the IKEA HACK mirror. A shame really because I love to let you take a look. This way you can also create a beautiful interior for a small budget!
Let's just start with the DIY. I got the inspiration for this project on Instagram. I saw a giant canvas hanging with yellow stripes and thought, "Wow, how bold is it that something so simple, can attract so much attention?"

DO-IT-YOURSELF?
Can I do this myself? That's often my first thought when seeing something cool on the Internet or in a home improvement store. This time I didn't have to think about that for super long. Because these are the things you need for the project:
- Painting canvas (in desired size)
- Painting tape (in desired thickness)
- Paint in desired 'pop' color and white
- Brushes
- Plinth or frame
STEP FOR STEP
Now that you know what supplies you need, it's time to get started. I'll take you briefly through the steps I went through to make this colorful art.
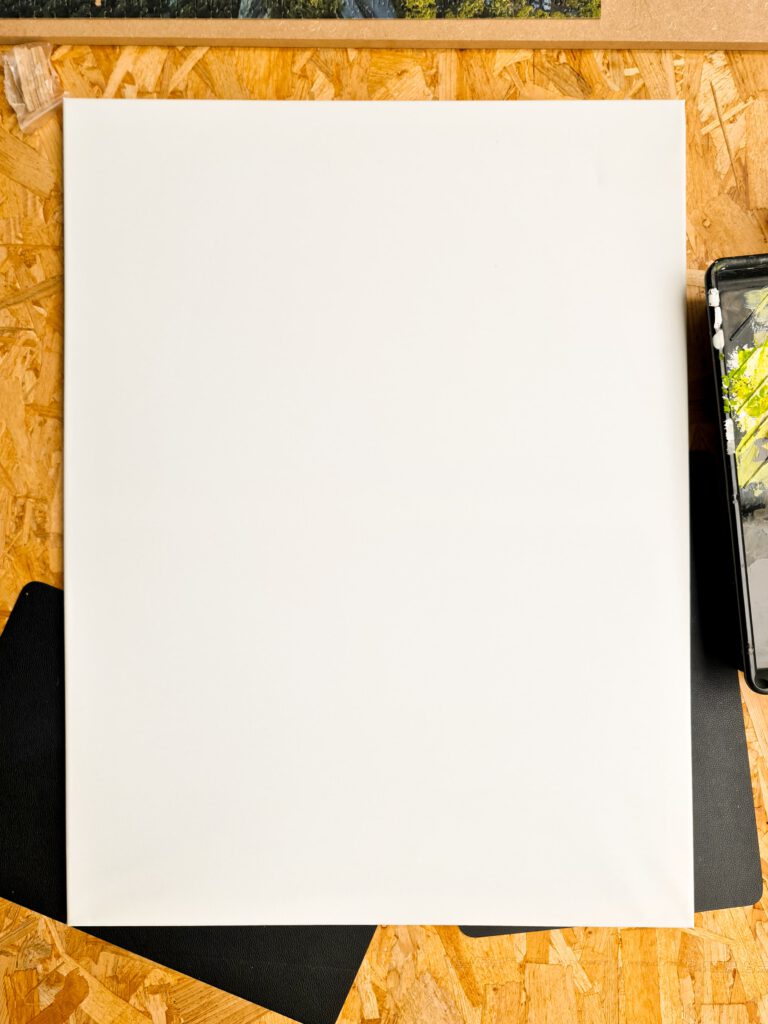
Step 1: Preparing
Make sure you cover your work area, that way you can get to work without stressing about stains. I usually use a trash bag for this, which I tear open at the seam. Nothing is more annoying than a beautiful table that is full of brightly colored paint.
Then you will tape your canvas with the painter's tape. The easiest way is to keep the thickness of the tape as strips and stick a strip of tape from left to right. No hassle with calculating or measuring, which is nice (you can see the result below). You can also choose to work from the middle. Then you have an equal stripe on both sides, in retrospect I would do this next time.
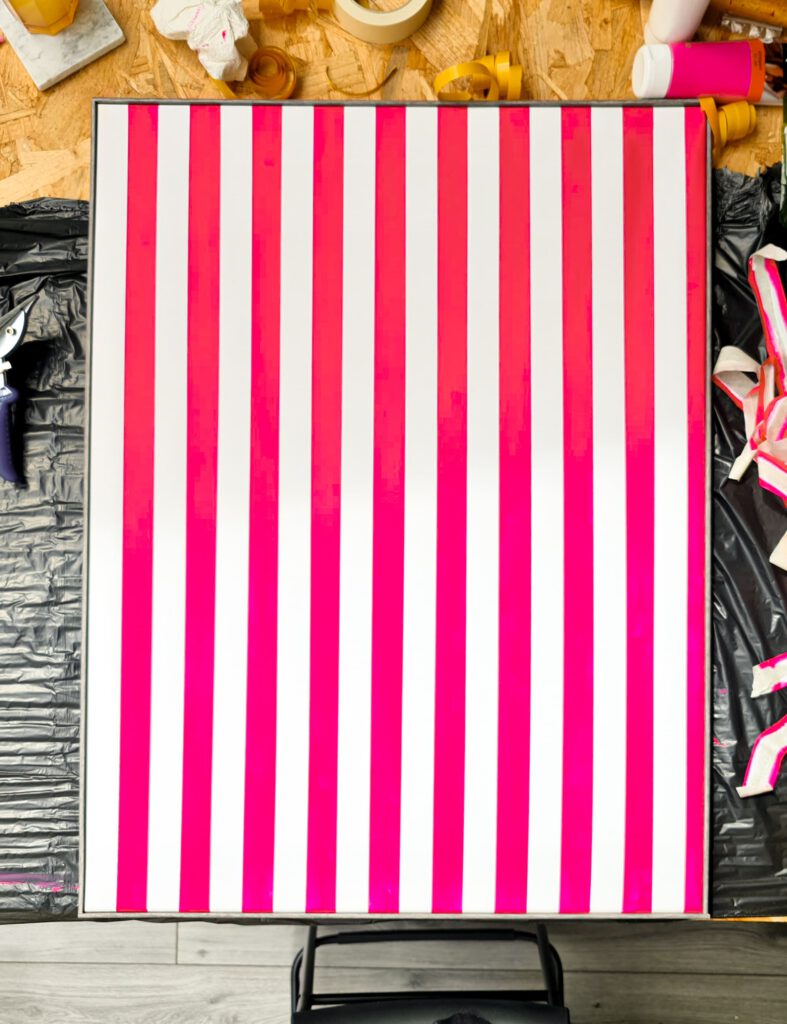
Step 2: Painting
The base is pretty much done. The only thing left to do before you can add the color is to paint the edges of the tape white. This way you get a nice clean line and believe me it makes it 10x prettier! When you have whitened all the edges let everything dry thoroughly. If you don't do this it will mix with your color and you won't get that popping effect.
Time for your color! Hopefully you picked a nice pop of color, I love to see that! To complete your own colorful wall decoration, you are now going to paint the strips with this color. You may have to paint several coats to get the color even and opaque. But even this is totally worth it.
Step 3: Remove Tape
Yeah, your artwork is almost done! You may remove the tape after the paint has dried a bit. Be careful not to get your tape back on the canvas, it would be a shame to get a stain on your painting like that.
Step 4: Framing
To finish off your colorful wall decoration, of course it needs a frame. You can buy a frame but you can also use a baseboard. I happened to have some left over from the laminate floor. I cut these to size and then attached them to the canvas with nails. Saved some leftover material from the dumpster again.
It already was! Apple-egg right? I hope you guys like the DIY and get to do it yourselves. Let me know via Instagram, tag me (@colorful.loft.living) in the photo of your colorful wall decoration! I am very curious.